
Make your own interchangeable wood sign + GIVEAWAY
I have always struggled with the thought of spending a lot of money on a sign with a quote or phrase permanently written on it. I think it's because I know after a while, I will want to change it up!
Then, one day Brett (my handsome husband) had this brilliant idea of making a frame that you can simply staple poster board to the back of, which means I can replace what it says or displays as many times as I want for a super small price! Yes, please!
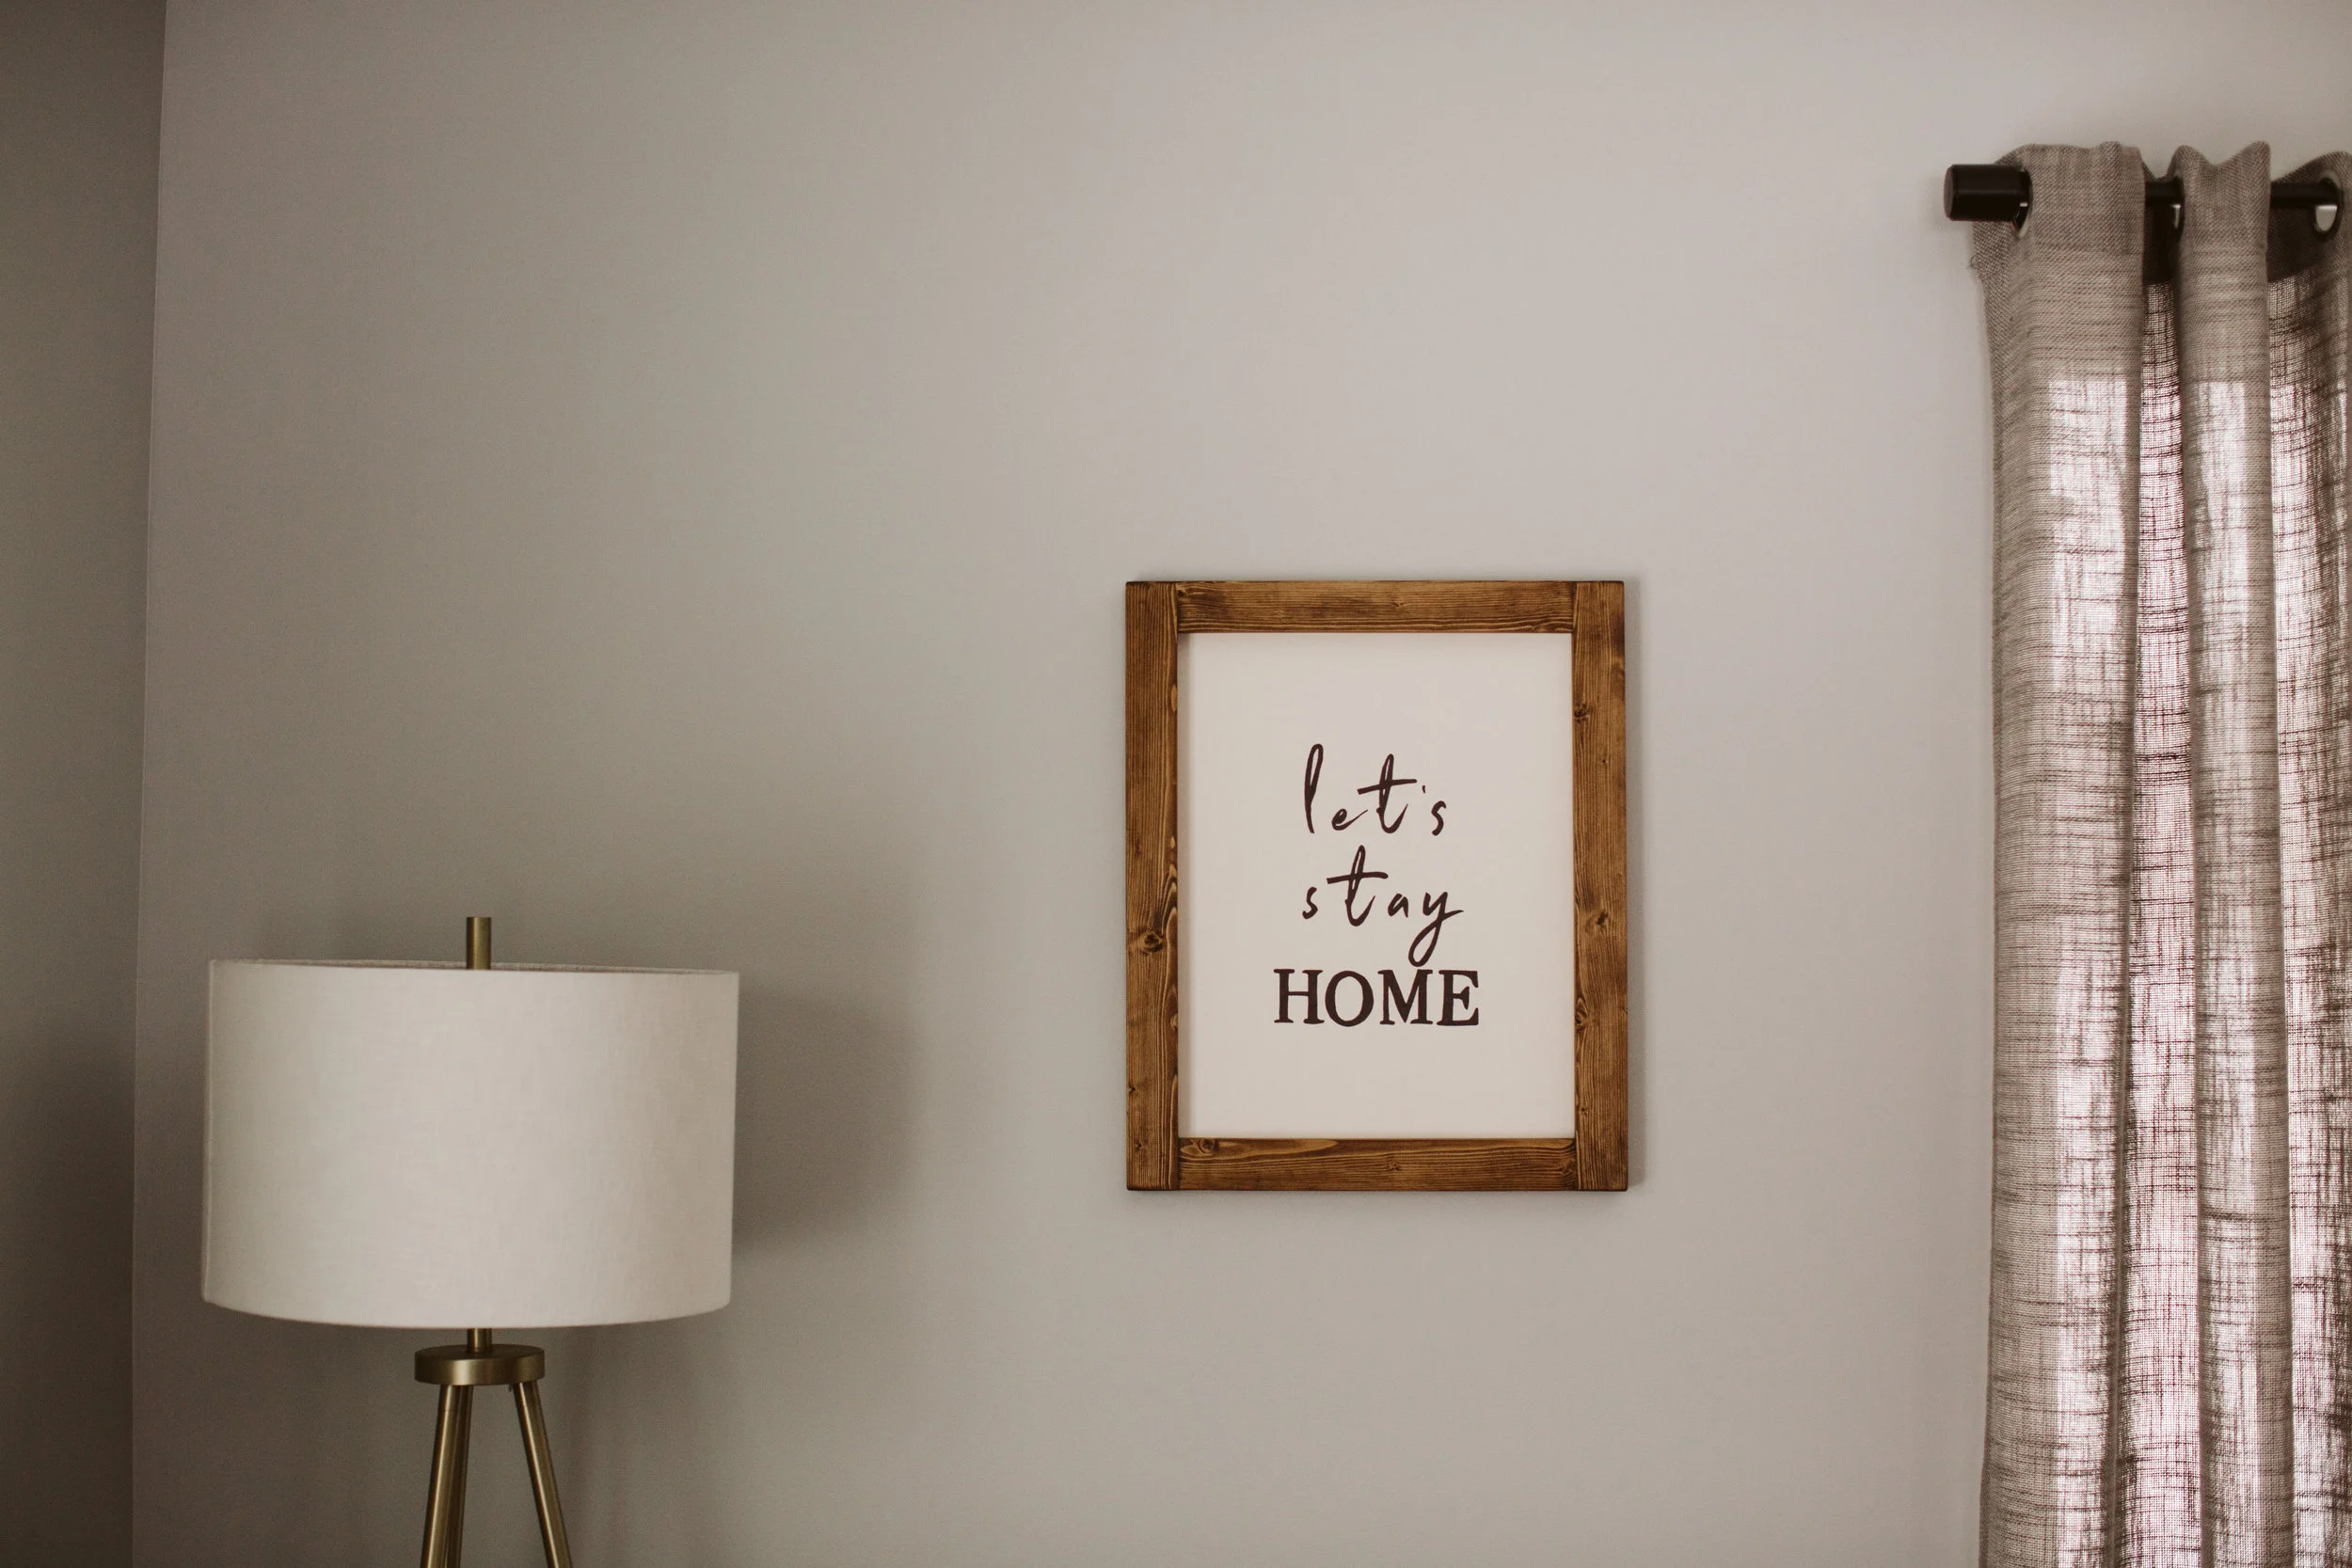
Below, we will show you how to make your own interchangeable wood frame and also step by step of how I made the exact sign above!
(SPOILER: You can also win it! Find the giveaway details at the end of this post!)
I had Brett write the whole making the frame part because I have no idea... haha
"If you're interested in making this frame on your own, here's how! There will be a list with links to the supplies and tools you will need at the bottom of the post.

Start with a pine 1X4. You can get these at any of your local lumber or hardware stores! Cut 2 pieces, one at 13 inches and another at 20 inches.

Next, you need to rip the pieces in half. With a table saw, measure 1 3/4 inches to the center of the blade. Cut both pieces into equal halves. If you don't have a table saw, like we do, you can have your lumber supplier cut down pieces when you buy them.


Now that you have your 4 pieces cut, you can start Bryana's favorite part... Sanding (she hates sanding)! Start with a low grit, like 80, to take off any big imperfections. Finish them off with a higher, finer grit. Something in the 150 to 220 range will work just fine!


Now for the assembly. There are many ways you can go about this. I chose to use glue and bar clamps to butt the joints together. If you do it the way I did, be sure to check that the frame is square before tightening the clamps! An alternative would be to pre drill and use some small screws to hold the joints together.


Once the glue has cured, you can chip away any excess glue. Finish it off with another quick sanding with 150-220 grit sandpaper.

Finally, we get to make it look pretty! I used Minwax brand stain. English Chestnut was the color on this one. Wipe all of the dust off of the frame and use a cloth to apply the stain. Wipe on generously and then wipe off the excess!

Allow the stain to cure for a day and then you're done!" - Brett

Now onto my part of the project, creating the art for your frame!
I decided on a simple phrase that makes me feel at home, and what better than a quote about home!?

As much as I wish I was gifted with beautiful, calligraphy writing hands...I was not. So, I found a way around having to free hand anything!
First step, create or pick the art you want to copy onto your poster board.
I created mine in photoshop, you can also create it in Word, OR the easiest is finding a free downloadable online. Pinterest always has a TON!
I've created this free downloadable PDF for you to make your own sign just like mine!

Step two, print it out! I print it onto card stock paper because it's thicker and not as flimsy. The sign is 16 x 20 inches, so keep that in mind when deciding how large to make the font.
How do I get it onto the sign, you ask?
Here's how:
- Cut out the letters.
- Place them onto your poster board and decide how you want them to look.
- Trace, trace, trace all the letters with a pencil.
- Outline and fill in! I just used black permanent marker.
BOOM! You did it!!
To put it all together, just staple your poster board art to the back of your frame and use 3M frame hanging strips to add some of your very own decor to your home!


Supply + Tools List:
+ Pine 1X4
+ Makita Miter Saw
+ Makita Table Saw
+ Warner Sanding Block
+ 3M Sandpaper
+ Gorilla Wood Glue
+ Bessey Pipe Clamps (you will also need 3/4" pipe)
+ Minwax Stain: English Chestnut
+ Stain Cloth (or just use a piece of an old shirt)
+ Posterboard
+ Black Double Sided Sharpie
+ 3M Command Velcro Strips
Want a chance to win this interchangeable, let's stay home, sign?!
Head over to our Instagram for the chance to win!
www.instagram.com/harborandpine/
BONUS ENTRY:
Comment down below and let us know what you would like to see in the future on Harbor + Pine!
Winner will be announced Monday, January 14th at 12pm EST.
We love you all! Thanks for supporting us!