
DIY Simple Step Stool
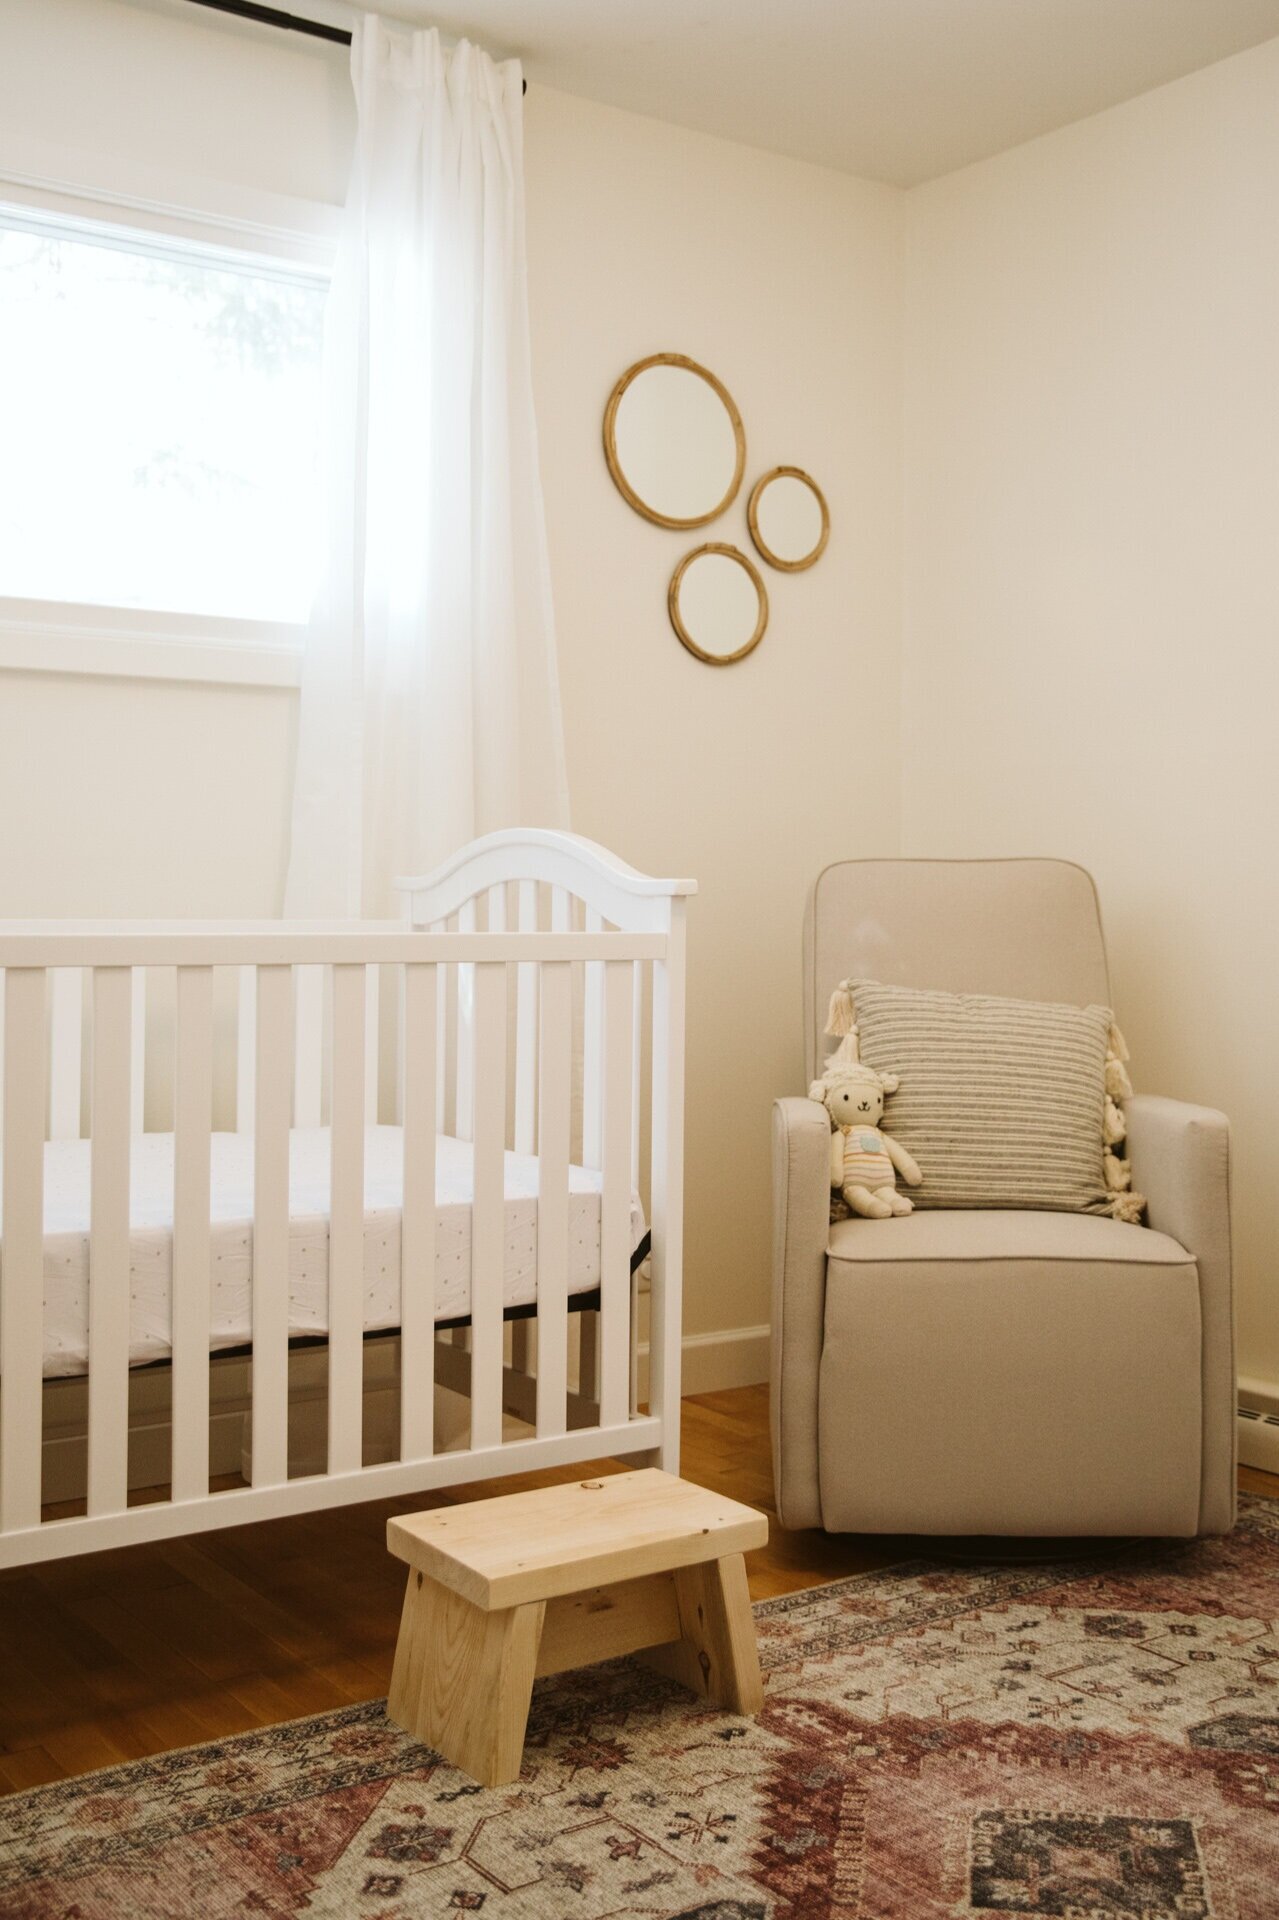
In case you might have missed our announcement a couple of weeks ago, Jason and I are going to be licensed foster parents within the next few weeks and will be welcoming two little ones into our home very soon! One of the things we needed to get our house ready was a little step stool, so we decided to build one! That’s kind of the way things work around here, if we need it and can build it, we typically try to! Haha. It ended up being such a cute and simple little project, so I thought I would share it!
Materials needed:
1 - 2 x 10 x 8” pine board
1 - 2 x 4 x 8” pine board
Pencil
2 1/4” wood screws
Drill with 3/16” bit
Sanding block or sander
Carpenter’s square
Wood glue
Circular or miter saw
Instructions:
To start, measure, mark, and cut the 2 x 10” to get a 15” long piece. This is the step of the stool.
Next, we’ll cut the two legs at a 15 degree angle. We cut ours at 7 1/2” long which gave our stool an overall height of roughly 9”. Set the saw to a 15 degree angle, mark and cut the legs. Be sure not to flip the board over as you want your angles to be parallel with each other.

Grab the top board (the step) of your stool to measure and mark 3 inches from each end of the board, using your square, draw a straight line.
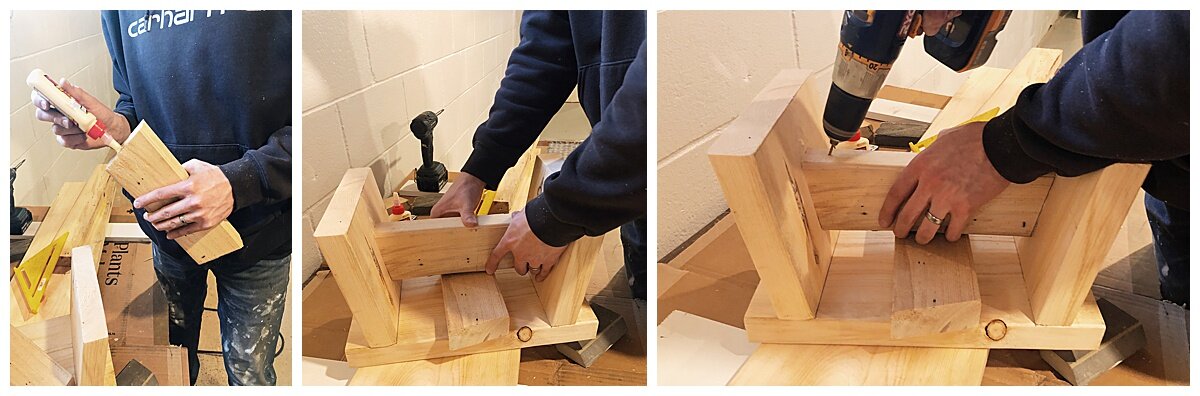
Set the stool top and one of the legs on their side and align the leg to the outside of 3 inch marked line, it should be angled outward toward the end of the top board. Pre-drill through the stool top and attach the leg with the wood screw, then flip the entire stool over and realign the leg on the 3 inch mark and repeat drilling and fastening. For the second leg, repeat this process.

For the center brace, lay the 2 x 4” over the stool legs to determine where you’d like it placed. We have a 1 1/2” gap from the bottom of the top board to the top of the brace (we used a 2 x 4” for a spacer). Mark on the 2 x 4” to make reference lines for the cuts.
Once you’ve made sure the brace fits in-between the legs, visually center it and mark the edges. Spread some wood glue on each end of the 2x4, align it on your marks, pre-drill and screw at an angle from underneath.
Finally, you can sand it, stain, and seal it, if desired! We sanded ours and left it raw wood for now, just because we like it like that!


What do you guys think?! I just love the simple design and am a huge advocate for functional and beautiful pieces for your home! We also really love to share our DIY projects with you, but would love to hear from you, comment down below if you have any project ideas you’d like to see from us!